Versions Compared
| Version | Old Version 1 | New Version 6 |
|---|---|---|
| Changes made by | ||
| Saved on |
Key
- This line was added.
- This line was removed.
- Formatting was changed.
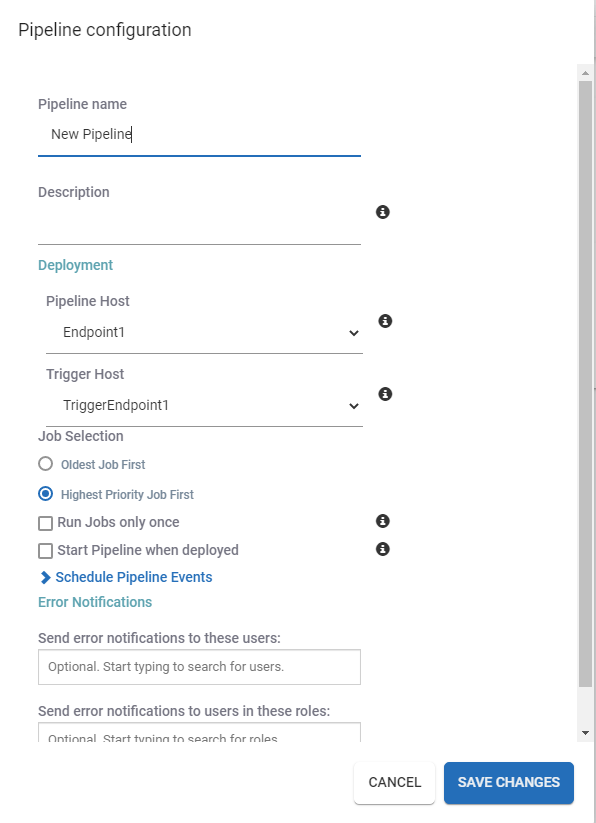
This his tutorial is designed to help you understand how to create a simple pipeline. We will step through each field and describe exactly what type of information is required.
Simple Scenario
We want to create a simple ACT3D publisher pipeline that uploads converts files to the Catalog ACT3D and includes Step with the following processes:
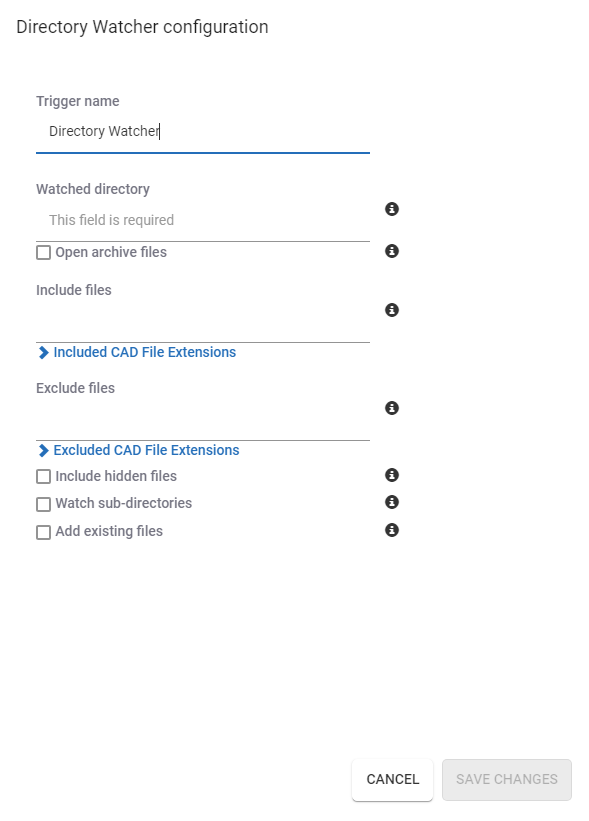
- Watch the folder, C:\CAD, and its subfolders.
- Publish SpinFire ACT3D files.
- Upload the files to the Catalog.
- Convert the files to STEP format and store them in the Catalog.
Assumptions
- The original CAD file is uploaded to the Catalog.A thumbnail is needed and is uploaded to the Cataloghas sufficient read/write permissions.
- The local copy of the newly created file is removed from the local drive.
- The newly created file is written to the C:\out folder.
Steps
| Expand | ||
|---|---|---|
| ||
|
| Expand | ||
|---|---|---|
| ||
In our simple scenario, the CAD files are located on the local drive; select the Directory Watcher trigger.
|
| Expand | ||||||||||
|---|---|---|---|---|---|---|---|---|---|---|
| A Catalog Part is essentially the entry in
| Catalog. The Catalog Part must exist in order to upload resources/files to the Catalog.The Catalog Part can be thought of as a container in the Catalog. We'll fill this container with the associated files. In this case, it will be the CAD file itself, the thumbnail, the
| file, and the converted STEP file.
| currently being worked on
| Since the pipeline definition is generic, we don't know what the file path and name is at this point. You could enter a specific path and file but then the pipeline would operate only on that one file. We need a variable that represents all the various files that are queued up during the pipeline execution. This is where Dynamic Properties are used. ||||||
| Expand | ||||||||||
| ||||||||||
Now that our part has been created, let's load it up with files. To upload any file or resource to the Catalog we'll use the Resource to Catalog action.
| ||||||||||
| Expand | ||||||||||
| ||||||||||
Now, to convert the CAD file to an ACT3D file:
|
| Expand | ||
|---|---|---|
| ||
| Expand | ||
| ||
We need to create a PNG file and assign it to the Catalog part as the representative thumbnail.of the CAD Files
|
| Expand | ||
|---|---|---|
| ||
| Expand | ||
| ||
Finally, we'll convert the original CAD file to the STEP CAD file format.
|
| Expand | ||
|---|---|---|
| ||
Now that the STEP has been created, upload it to the Catalog.
|
| Info | ||||
|---|---|---|---|---|
| ||||
It is common to use an action multiple times within a pipeline such as the Upload to Catalog. It's a good idea to give each action a descriptive name that makes it obvious to know what it does when using it. |
 Image Removed
 Image Added


